Jump to Recipe
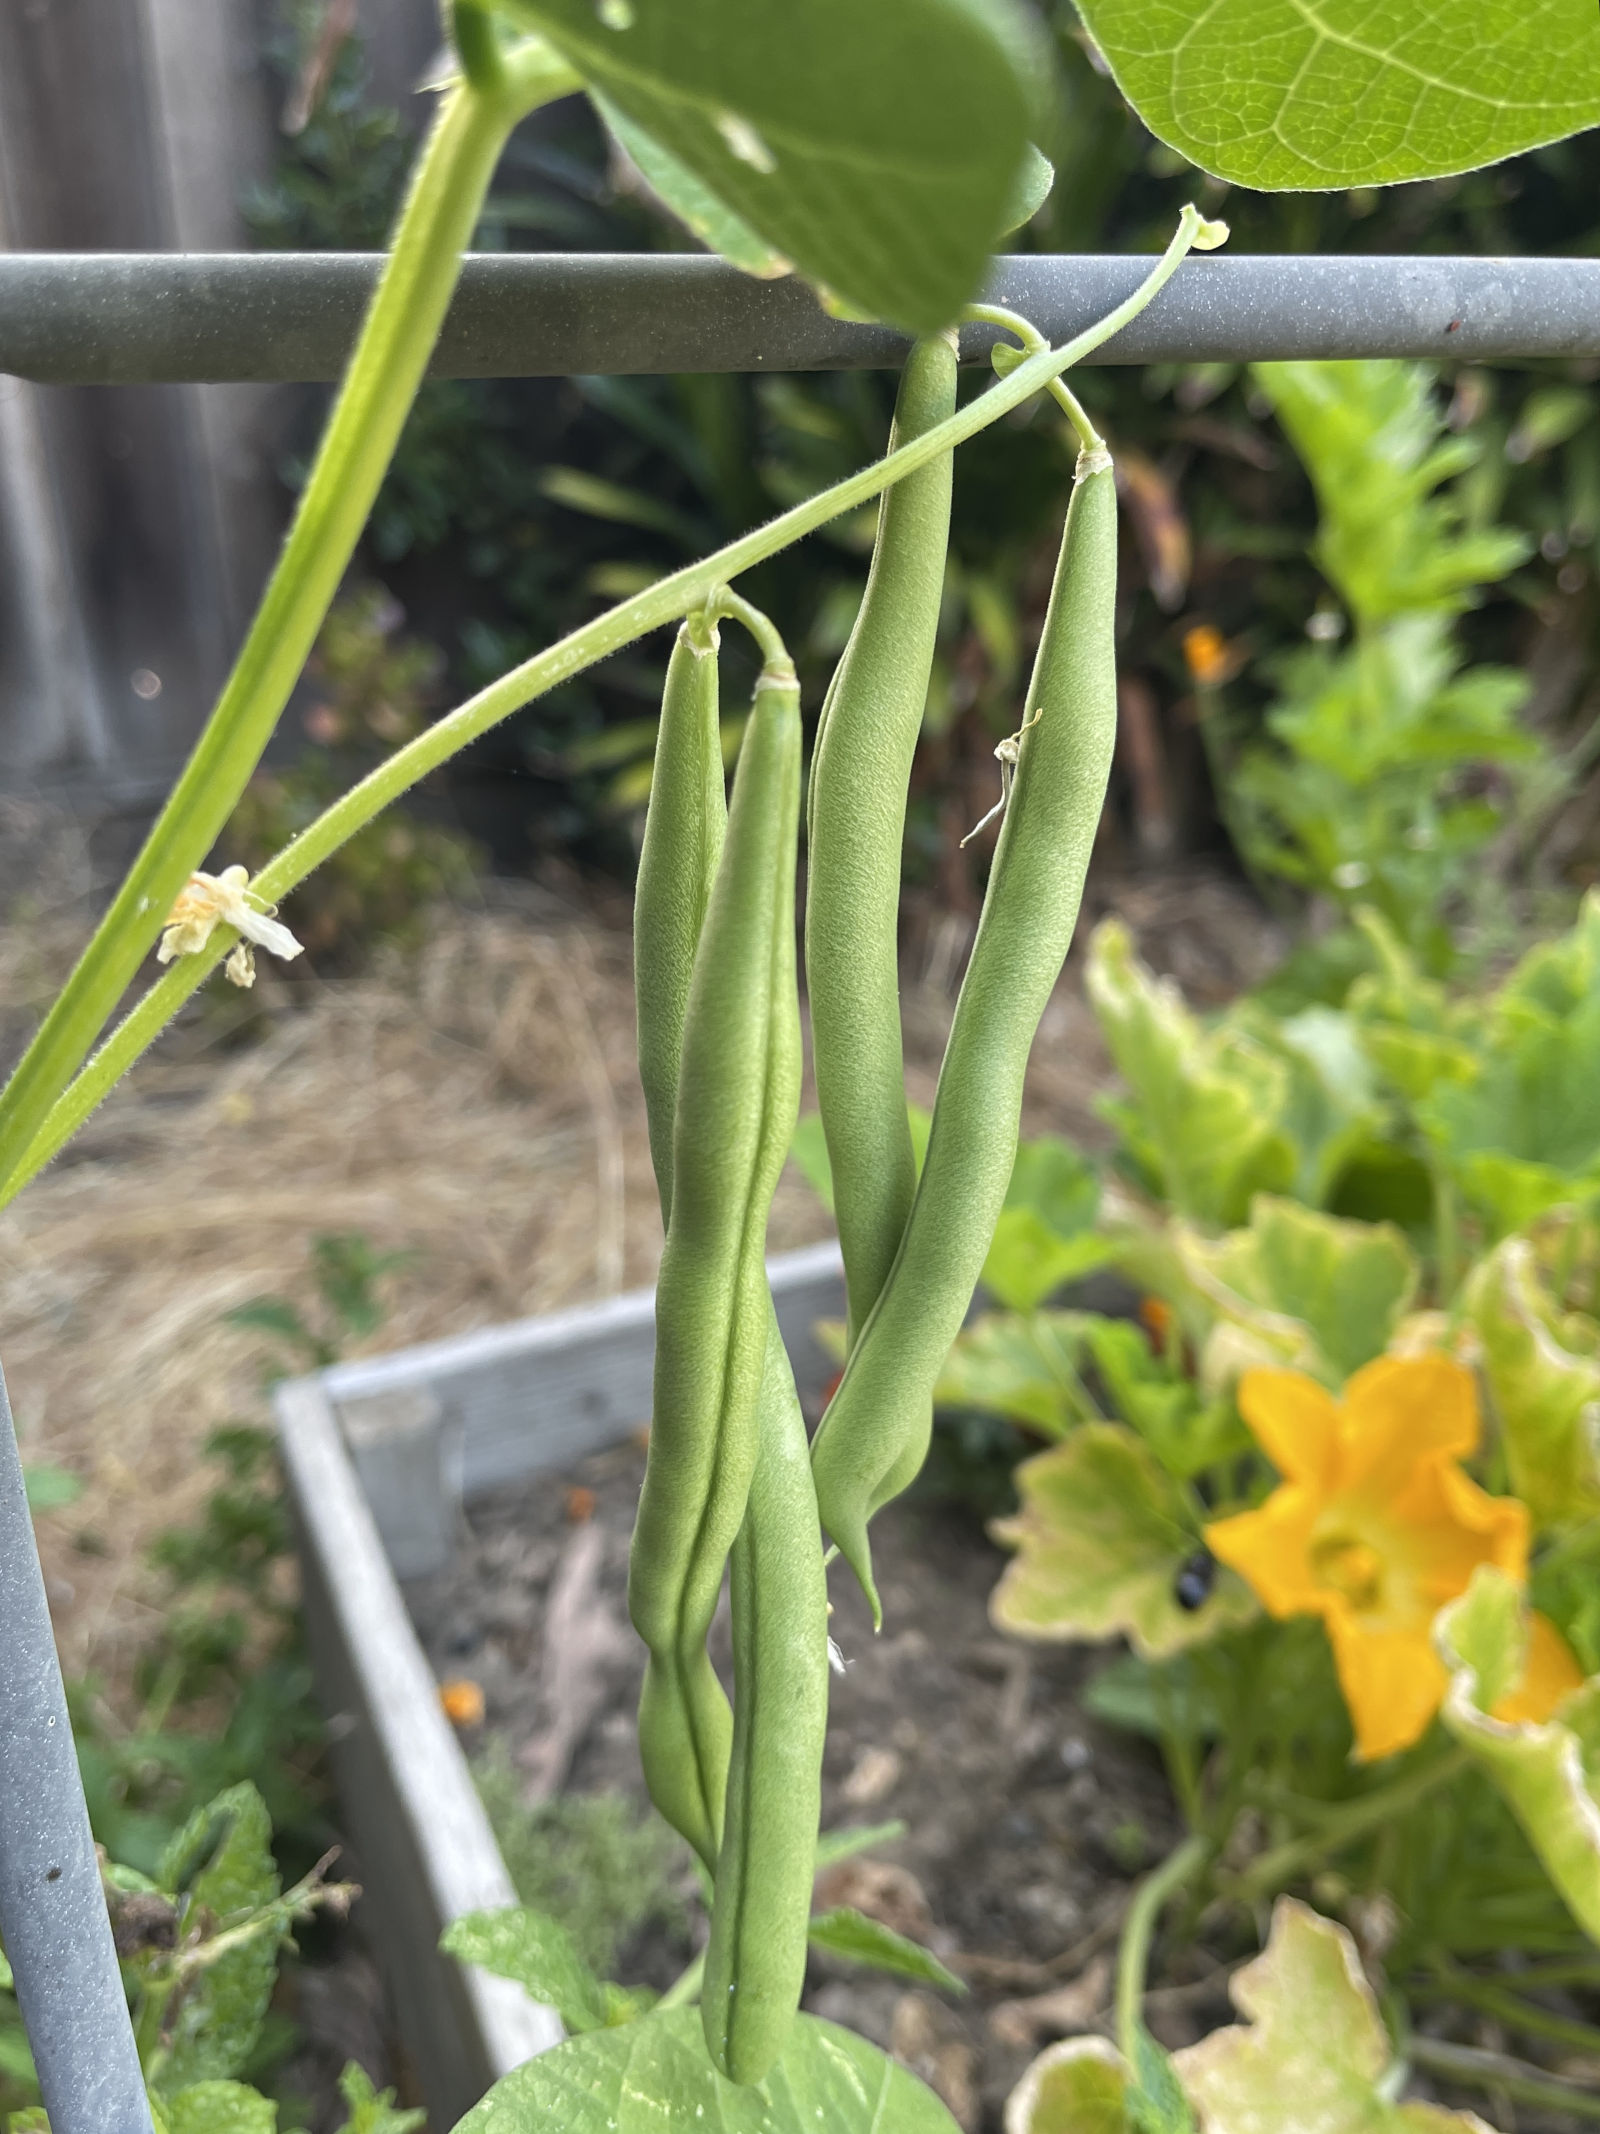
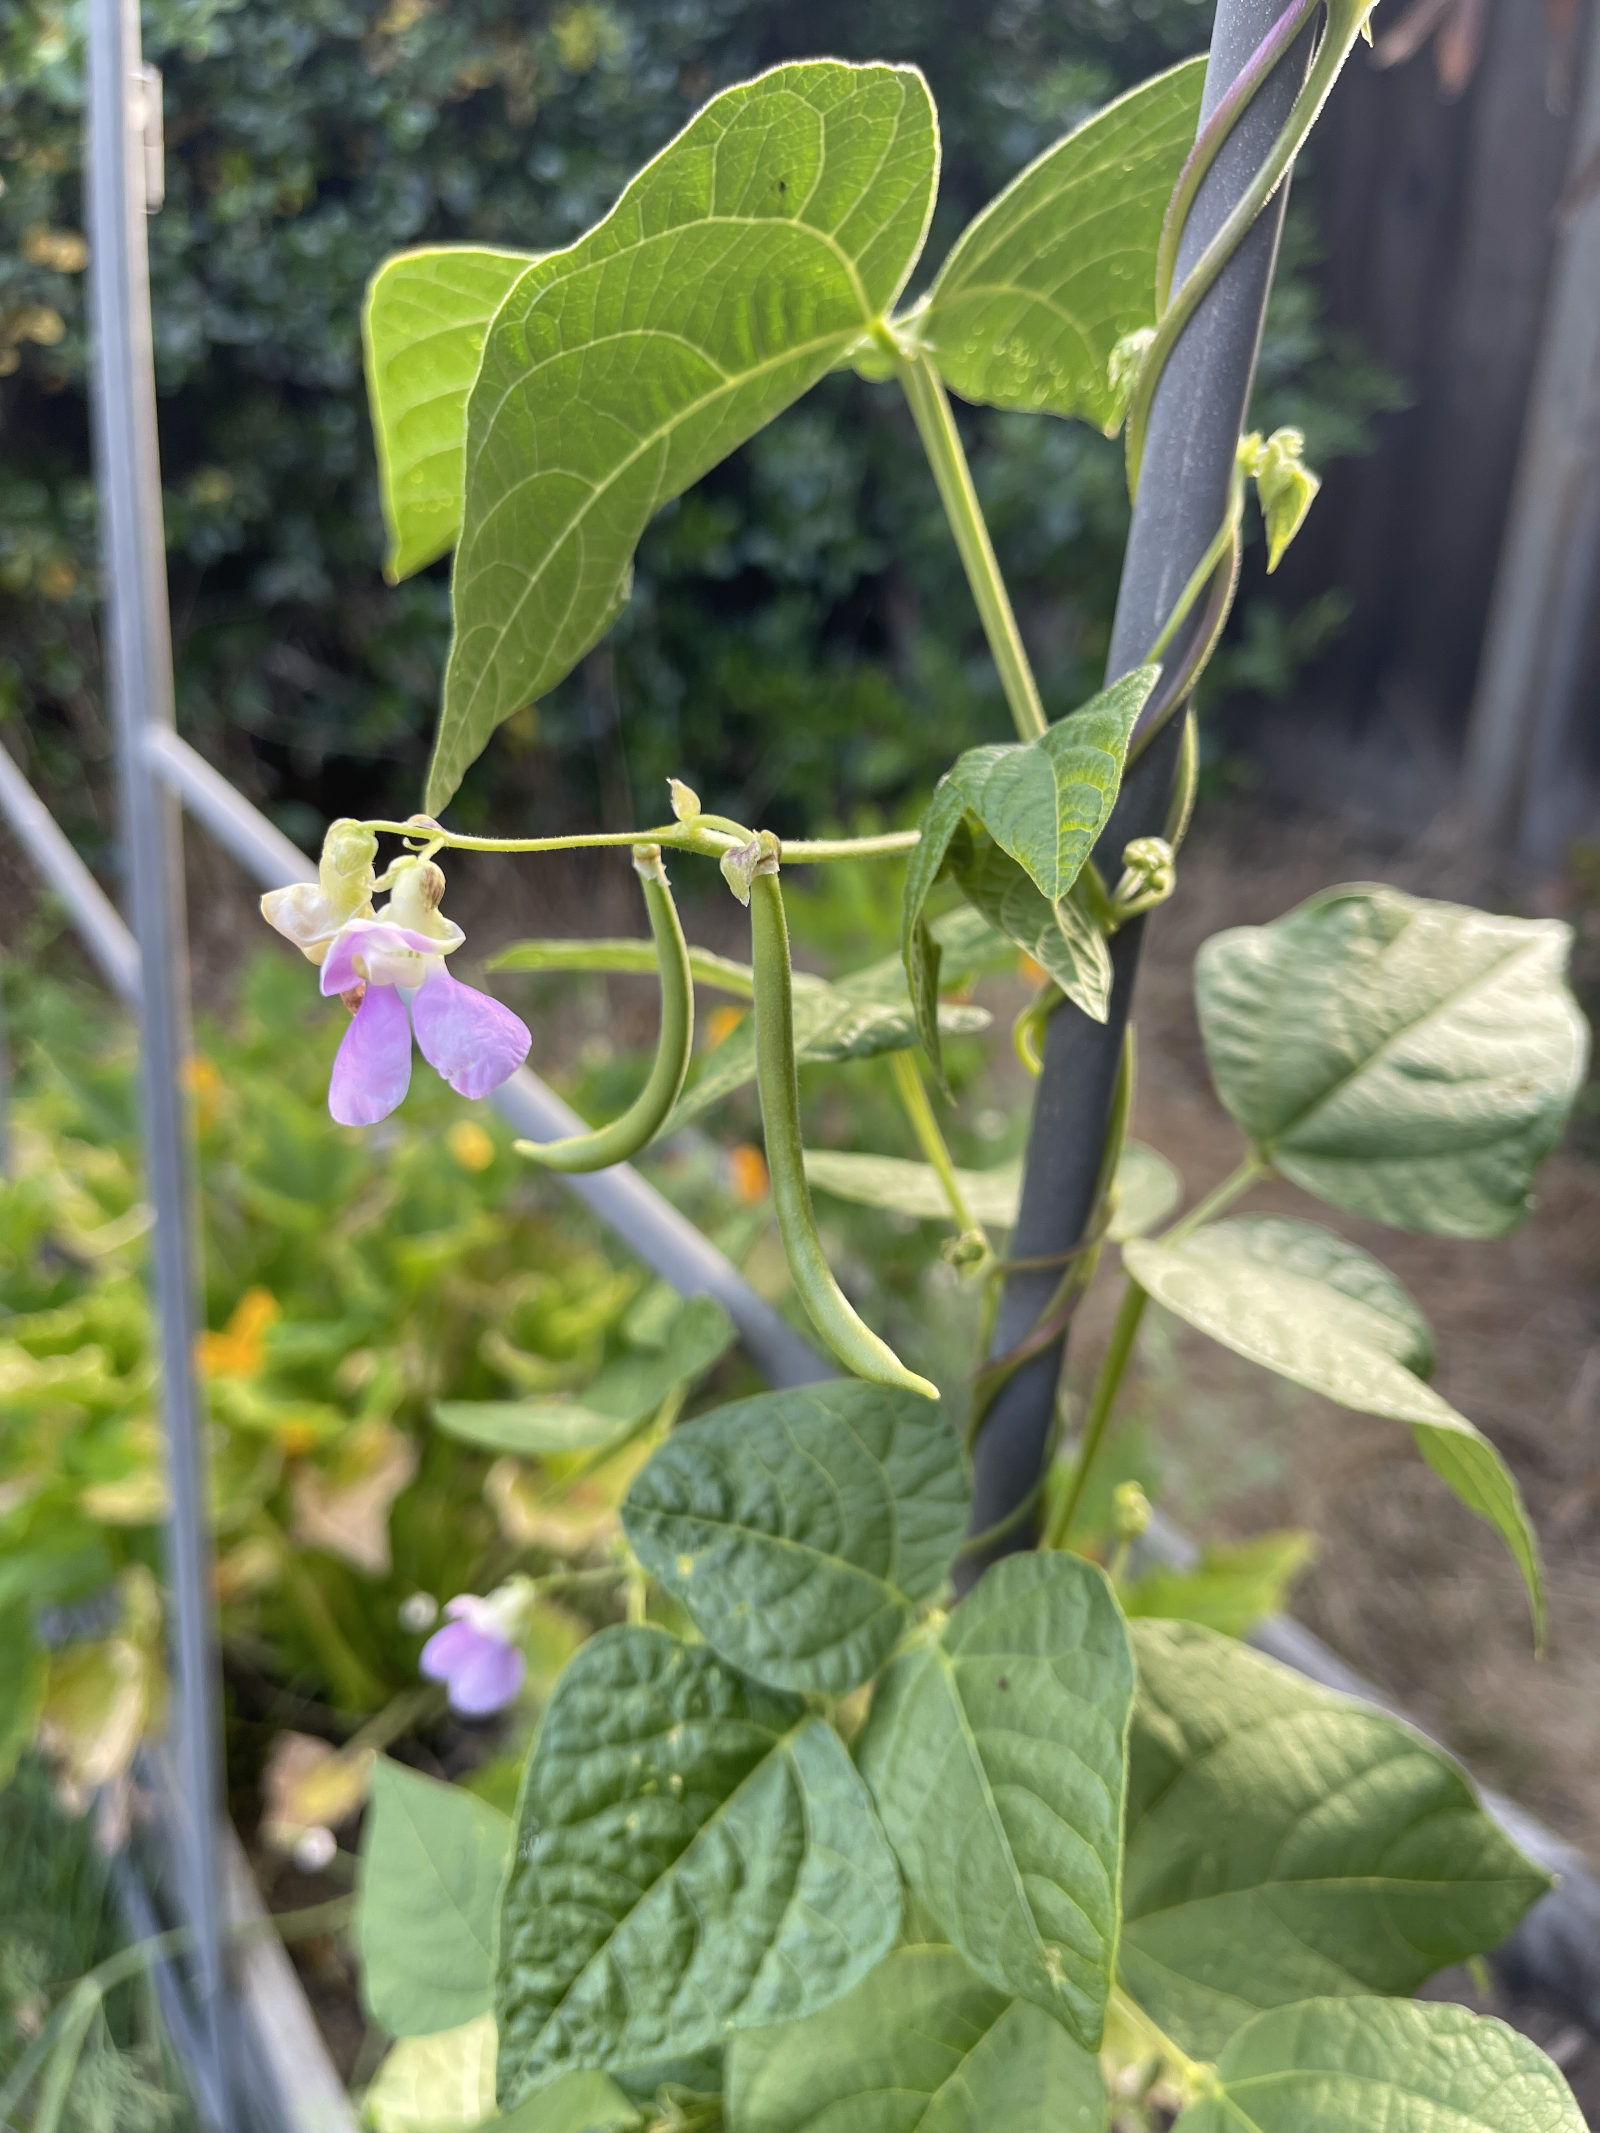
You may live in a zero-waste utopia where you can buy affordable, package-free, frozen green beans in bulk at the grocery store. The rest of us either buy frozen green beans in single-use plastic bags or blanch and freeze fresh beans ourselves.
The process of blanching green beans—scalding them quickly, followed immediately by submerging them in ice water to halt the cooking—inactivates enzymes that deteriorate produce. In other words, your beans remain bright green and crunchy after freezing.
During green bean season, when you’ll find beans at the best price and peak nutrition, consider blanching and freezing several pounds of green beans at once. You’ll save money and time and your future self will thank your current sous-chef self for doing so much prep in advance. When you need or crave green beans—perhaps several months from now at Thanksgiving, perhaps next week—you’ll have already done most of the work and cleanup.
Prep the green beans to blanch
Wash the beans, trim the stems and cut the beans into smaller pieces, if desired. I leave the tails on the beans. Trim them if you prefer.


Boil a pot of water, set up an ice bath
Bring a pot of water to a boil and fill a large bowl with water and ice. Have a mesh skimmer or slotted spoon at the ready to remove the beans so you don’t spend time searching for it and risk overcooking the beans. (Gathering your equipment in advance is a good practice whatever you cook.)

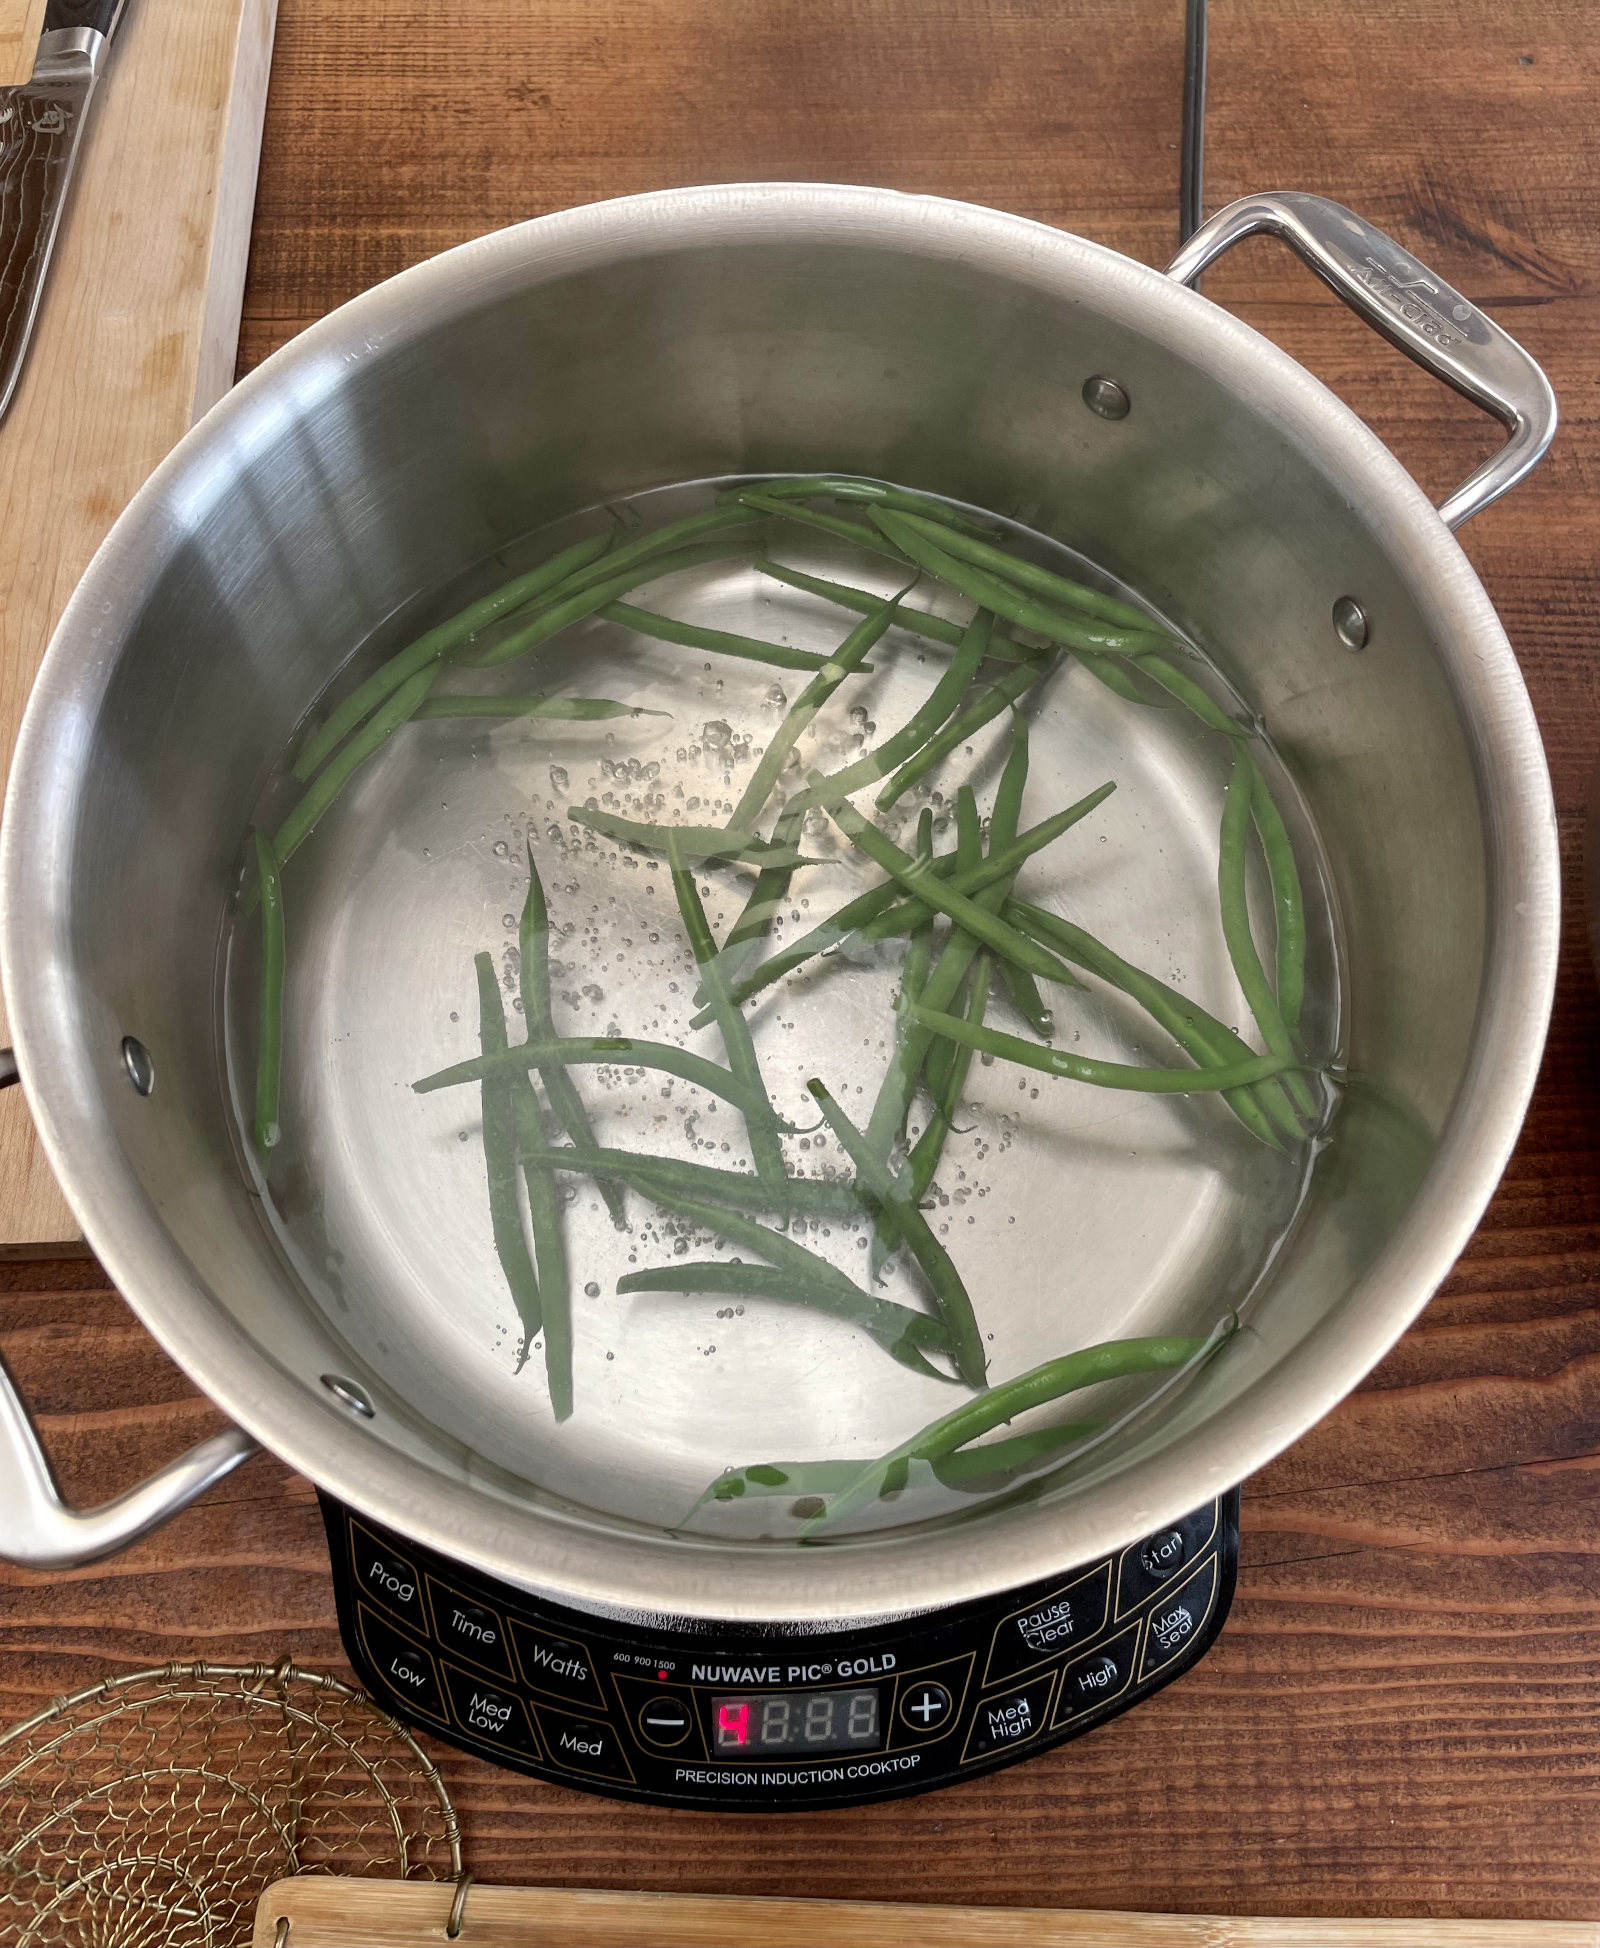
Drop a large handful of beans into the boiling water. You’ll blanch an amount small enough that the water can quickly return to a boil. Once it does, set a timer. Cook the beans for two minutes if small, three if medium and four if large.
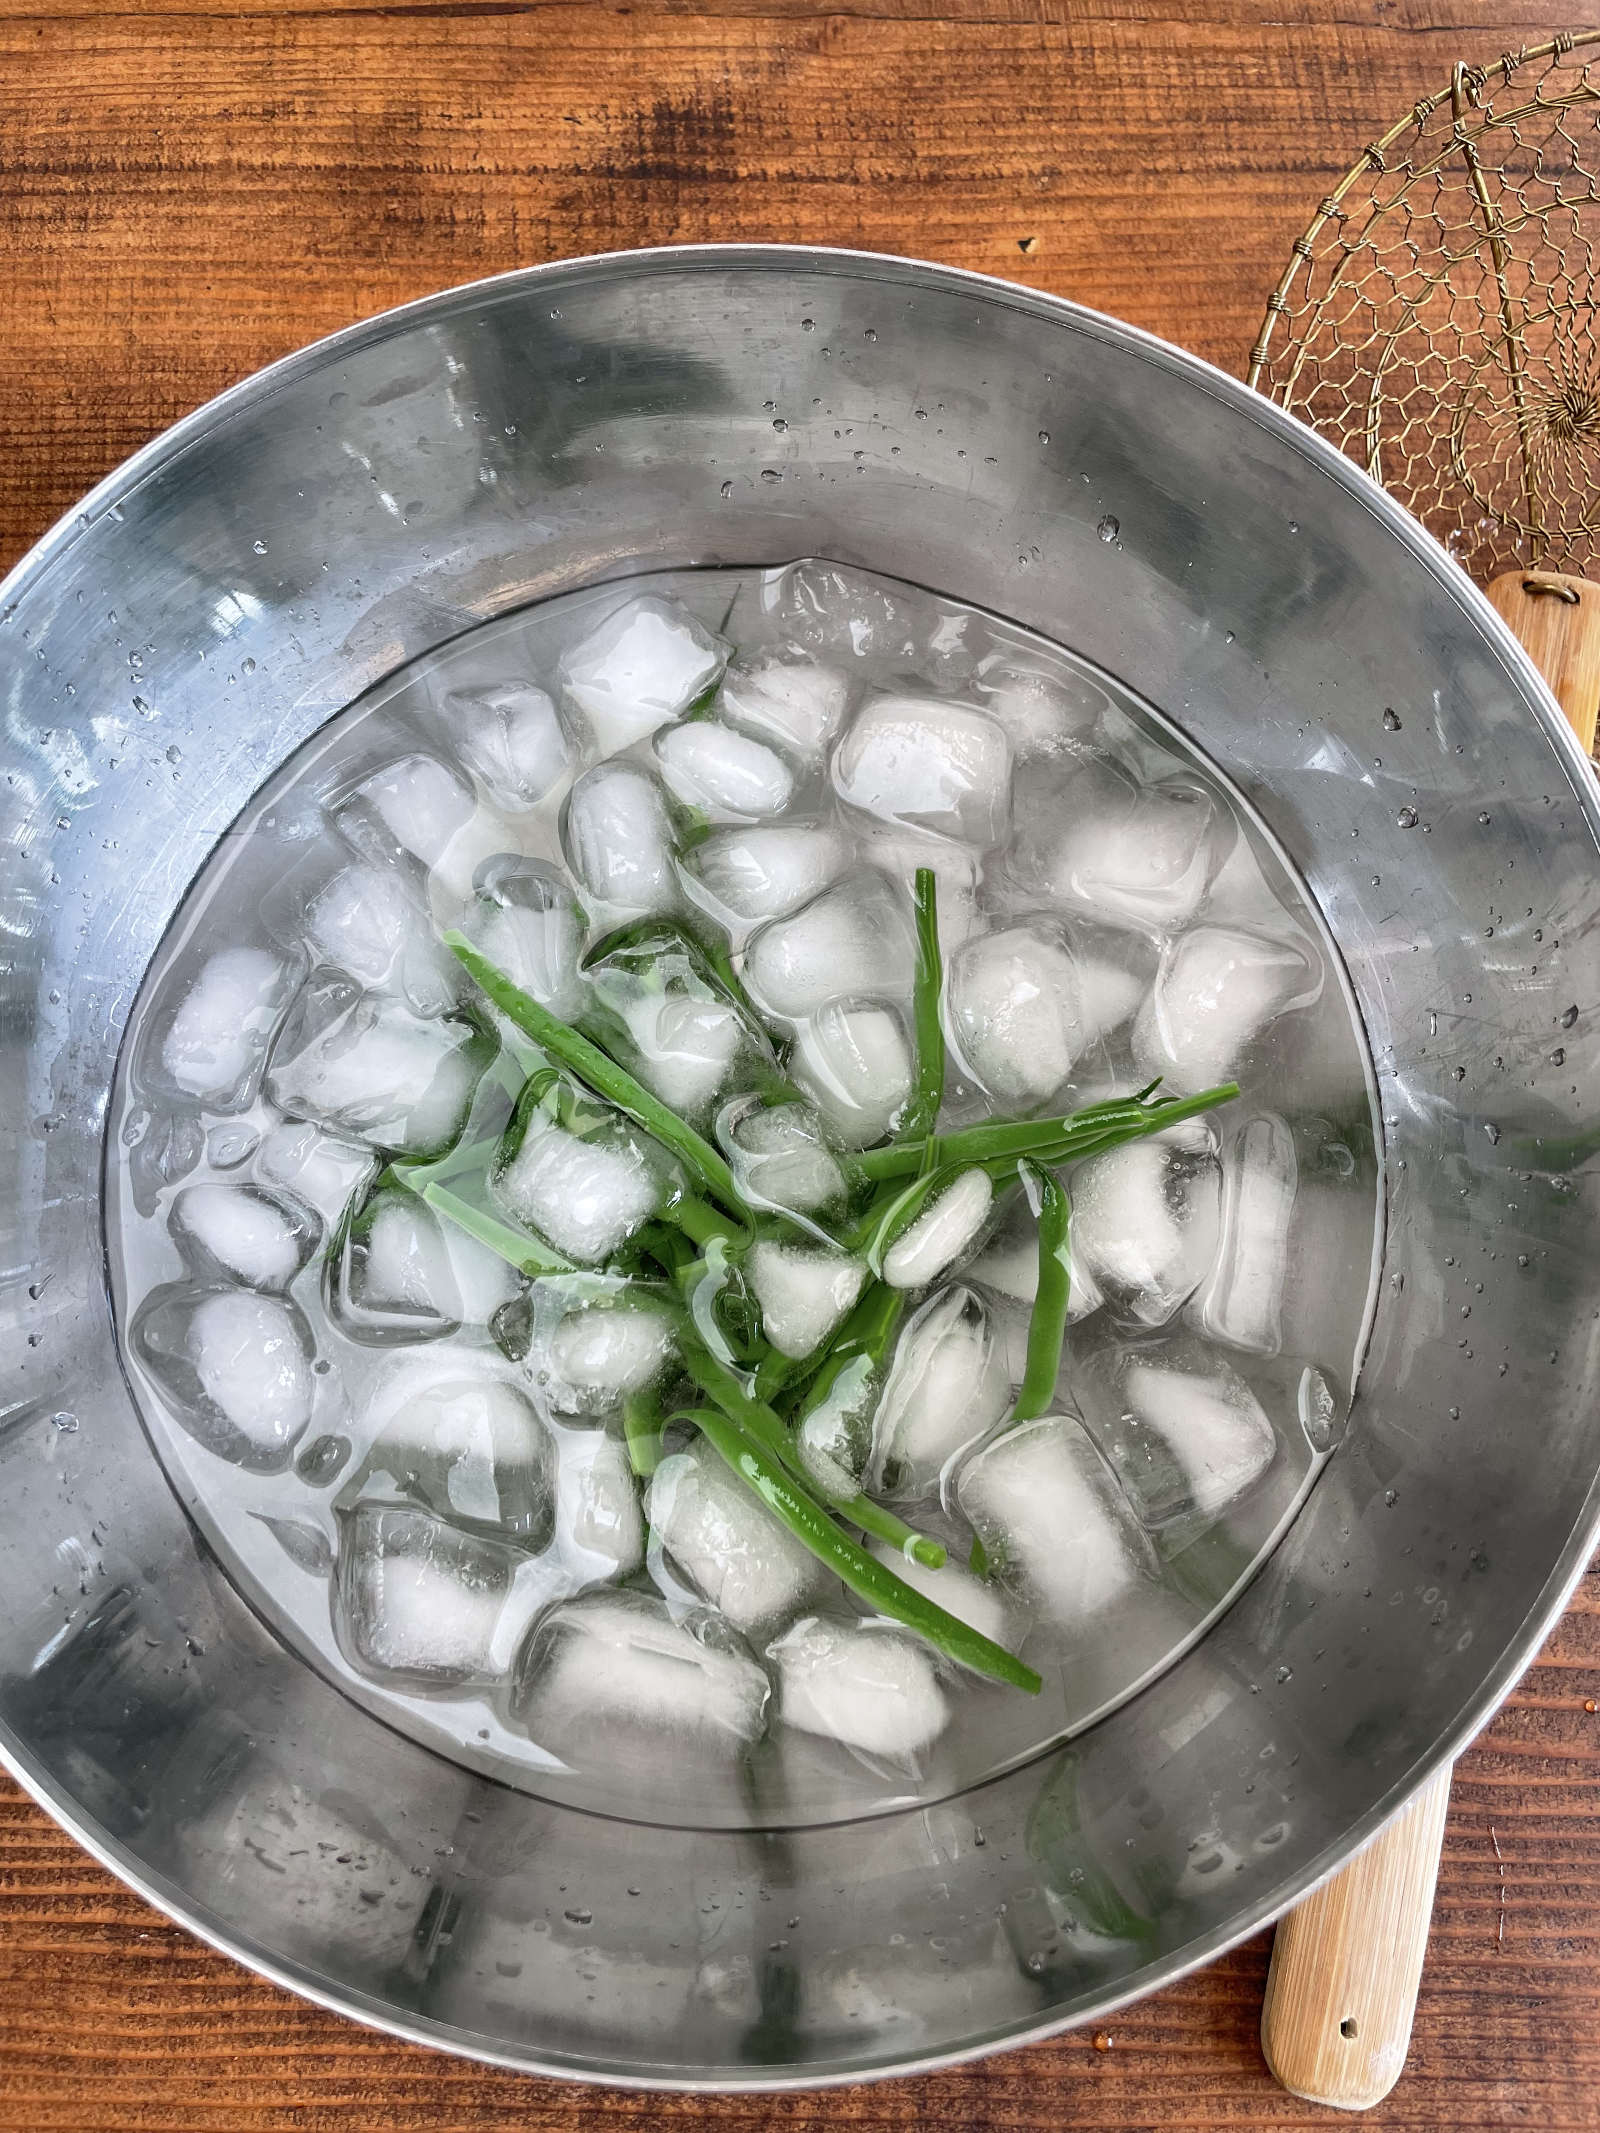
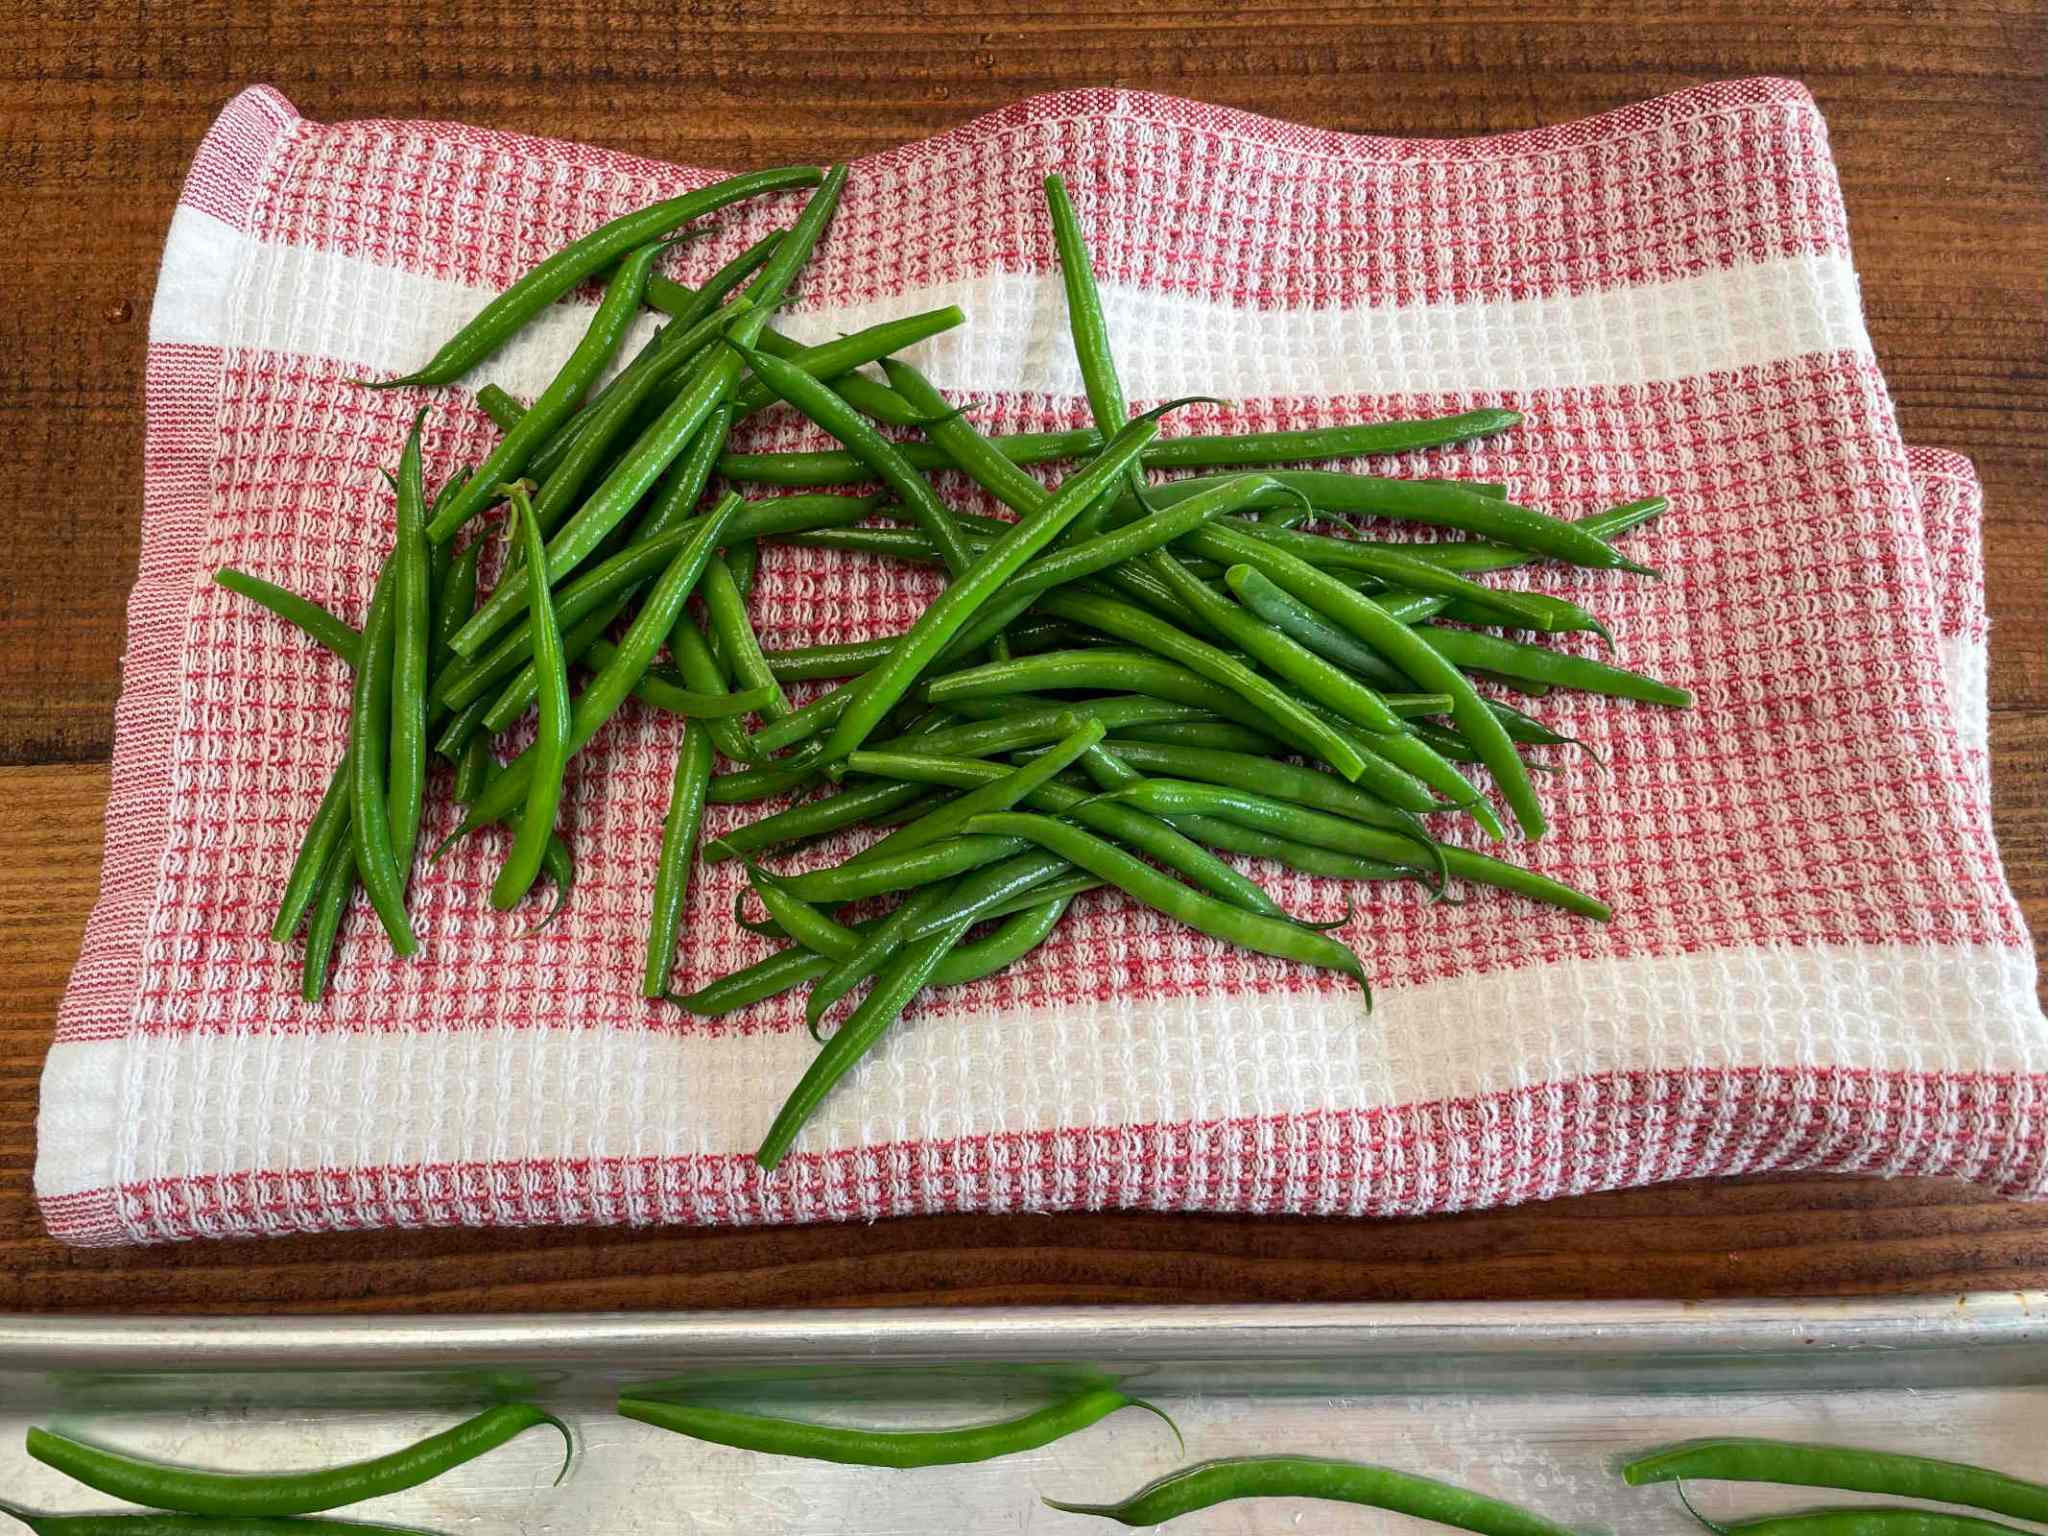
Remove the beans immediately with the mesh skimmer or slotted spoon and submerge them in the bowl of water and ice. Allow the beans to completely cool (about five minutes). Place them on a clean dishtowel and pat off any excess water.
Freeze the blanched green beans
Arrange the beans on a baking sheet in a single layer and freeze them for an hour or two. Given their small size, they freeze quickly. You could skip this step and freeze them en masse now in a container but they may clump together. Spreading them out enables them to freeze individually.
Once frozen on the baking sheet, transfer the beans to jars or other containers and return them to the freezer. They will keep in the freezer for at least eight months.


Save the water
While the beans froze, I quickly cleaned up—prepping and blanching green beans makes little mess—and filled the watering can outside my kitchen door with the hot and cold water. I later watered the green beans my daughter MK planted this spring.
Whether you bought more green beans at the farmers’ market than you can eat, found a great deal at the grocery store you couldn’t pass up or grew a bumper crop this year, blanching and freezing them extends the season, reduces wasted food—which saves money—and eliminates the single-use plastic of packaged frozen green beans.
Blanch and Freeze Green Beans
Blanching and freezing extends green bean season and prevents food from going to waste, which saves money.
Bring a pot of water to a boil and fill a large bowl with water and ice.
Drop a large handful of beans into the boiling water. You want to blanch an amount small enough that the water can quickly return to a boil. Once it returns to a boil, set a timer. Cook the beans for 2 minutes if small, 3 if medium and 4 if large.
Remove the beans immediately with the mesh skimmer and submerge them in the bowl of water and ice. Allow the beans to completely cool, about 5 minutes. Place them on a clean dishtowel and pat off any excess water.
Arrange the beans on a baking sheet in a single layer and freeze them for 1 to 2 hours. Once frozen on the baking sheet, transfer the beans to jars or other containers and return them to the freezer. They will keep for at least 8 months.
Buy my award-winning cookbook!
Learn more here.
