Jump to Recipe
My daughter MK makes this semolina pastry often. Semolina adds a hint of nutty flavor and yellow color to pastry. If you make homemade pasta, you may have semolina on hand. Or, if you make this semolina pastry and have never tried making pasta, you need very few additional ingredients (water for the pasta recipe in my award-winning cookbook or all-purpose flour and eggs for the pasta recipe on my blog).
Homemade pastry versus store-bought
Homemade pastry contains a handful of recognizable ingredients—flour, fat, water and perhaps a bit of salt and sugar as in this semolina pastry recipe. Because I make mine with pastured organic butter and organic flour, I don’t save much money compared to store-bought pastry shells. But I get to eat pastry made with pastured organic butter and organic flour.
Meaninglessly labelled as “made from scratch,” these plastic-wrapped, store-bought pastry shells contain: Enriched Wheat Flour (Wheat Flour, Niacin, Reduced Iron, Thiamine Mononitrate, Riboflavin, Folic Acid), Soybean Oil, Water, Hydrogenated Soybean Oil, Dextrose, Salt, Dough Conditioner (Sodium Metabisulfite). Not only does this pastry contain industrial ingredients, the hallmarks of ultra-processed foods, it won’t taste as good as homemade (no surprise there).
By making my own, toxic plastic packaging doesn’t come into contact with my fatty pastry (or the landfill or ocean). Plastic contains fat-soluble chemicals that have a greater chance of leaching into fatty foods. “But how will I chill the dough without plastic wrap? Every pastry recipe calls for it!” you may be saying. See the images down below for a low-tech solution.
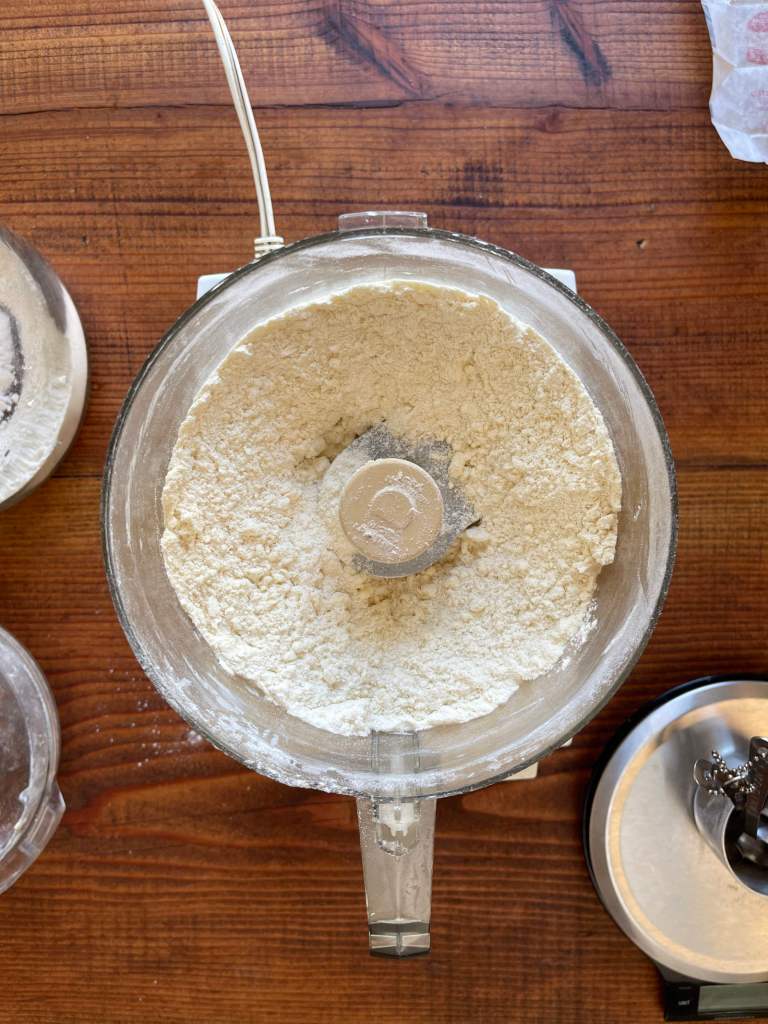
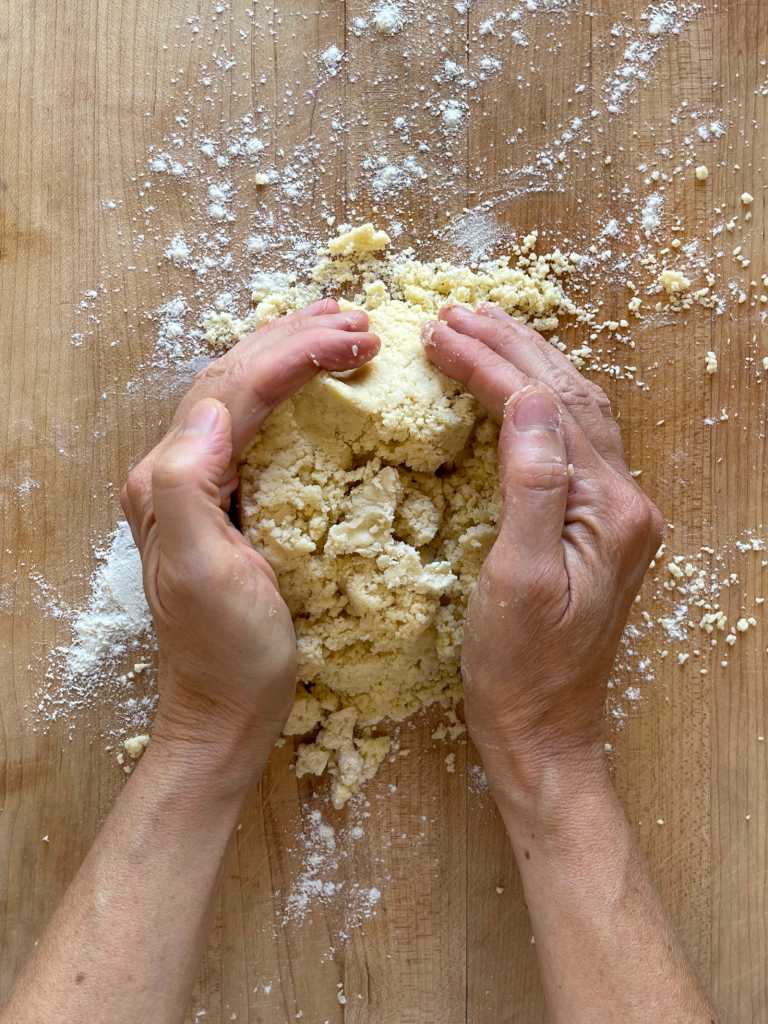
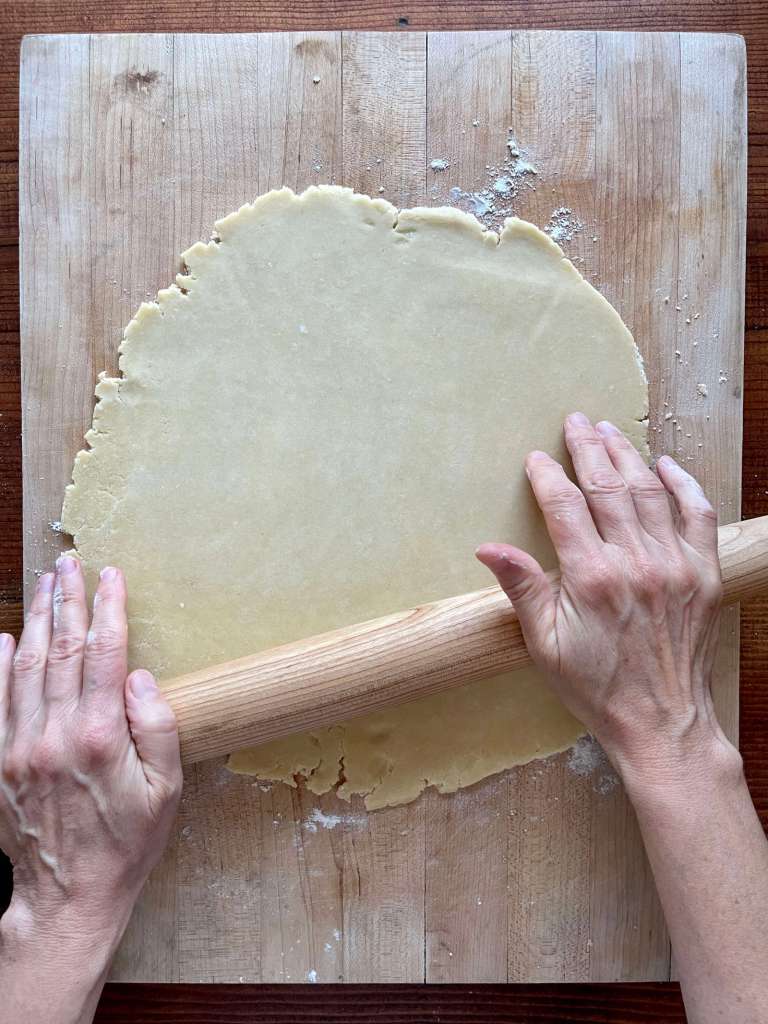
In pictures: Making semolina pastry
This method applies to standard pastry also. If you don’t have a food processor, use a bowl and pastry blender to make the dough.


Pastry-making tips
Perhaps, like many people, you’d love to make your own pastry but find the process intimidating. The following tips will help you succeed:
- Chill everything. Use ice water and chill the butter, the pastry after forming it and (ideally) the pie or galette or tarts before baking.
- Don’t overwork the dough. Although a food processor makes dough quickly, it can also overwork it. Overworked dough is tough dough. So only process as much as necessary. Or use a pastry blender. It requires a bit more elbow grease but you’re less likely to render tough pastry.
- Move the dough around as you roll it out. On a floured surface, roll the dough, rotate it a quarter, roll it again, rotate it again, roll it and repeat. The rough circle you roll out won’t become stuck to your work surface if you move the dough around as you go.
- Dust the work surface with additional flour only if necessary. Add only a small amount at a time. Too much flour will toughen the pastry.
How to make a low-waste fluted edge
My daughter MK makes amazing pastry. Below, she demonstrates how to flute an edge using all the pastry rather than trimming a bunch away.
With more pastry-making practice—and more pastry eating—you’ll become a pastry pro. Win-win!
So Good Semolina Pastry
Makes one 9-inch pastry shell
Servings: 8
- ¾ cup all-purpose flour
- ½ cup semolina flour, finely ground
- 1¼ teaspoon granulated sugar
- ½ teaspoon coarse salt
- ½ cup butter, chilled and cut into ½-inch pieces one stick
- 3 to 4 tablespoons ice water
If using a food processor, pulse the flour, sugar and salt a few times until combined. Add the butter pieces and pulse until the mixture resembles large peas. If making the pastry by hand, whisk the flour, sugar and salt together in a bowl and then cut in the butter with either a pastry blender or two knives.
Slowly add the ice water, 1 tablespoon at a time. In the food processor, pulse a few times; by hand, mix with a fork. Continue adding water 1 tablespoon at a time until the dough easily sticks together when you pinch a large piece. If the pinch crumbles, add more ice water but not so much that the dough becomes sticky.
Turn the dough out onto a lightly floured work surface and form into a ball. Flatten the ball into a disk. Place the disk on a plate and invert another plate over it. Chill the dough for at least 1 hour in the refrigerator or store for up to 2 days. Or store in a container in the freezer for up to 3 months.
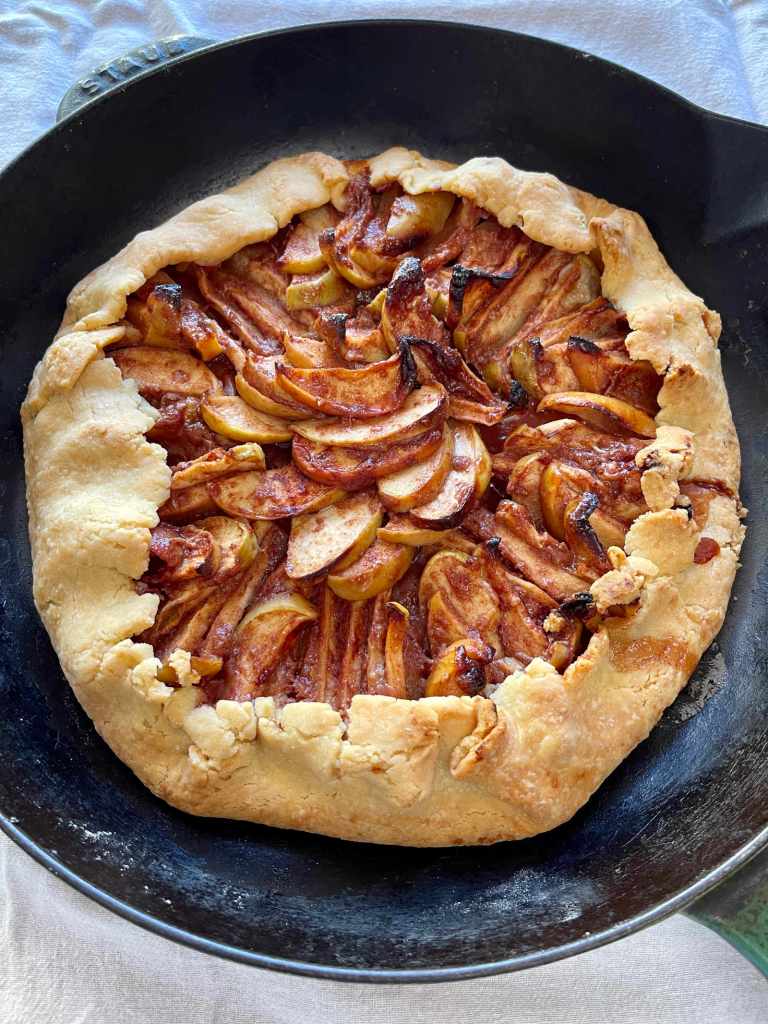
Prepare the dough for your pie, galette, tart, pot pie…
Remove the chilled pastry from the refrigerator or freezer and allow it to warm up just enough to render it rollable.
For a pie, roll the pastry into a circle about 12 inches in diameter and ⅛ inch thick. Transfer the dough to a 9-inch pie plate. Fold the excess pastry edge under itself, making it flush with the top of the pie plate. Pinch this rim with your fingers to crimp it. Place in the refrigerator to briefly chill while you make the pie filling.
Follow your favorite recipe, fill and bake.
Buy my award-winning cookbook!
Learn more here.

